
Learn how to build a lean-to roof with our guide. Perfect for home additions or sheds, this guide covers everything from gathering materials to installing shingles, ensuring you achieve a durable and effective roofing solution.
Table of contents
What is a Lean-To Roof?
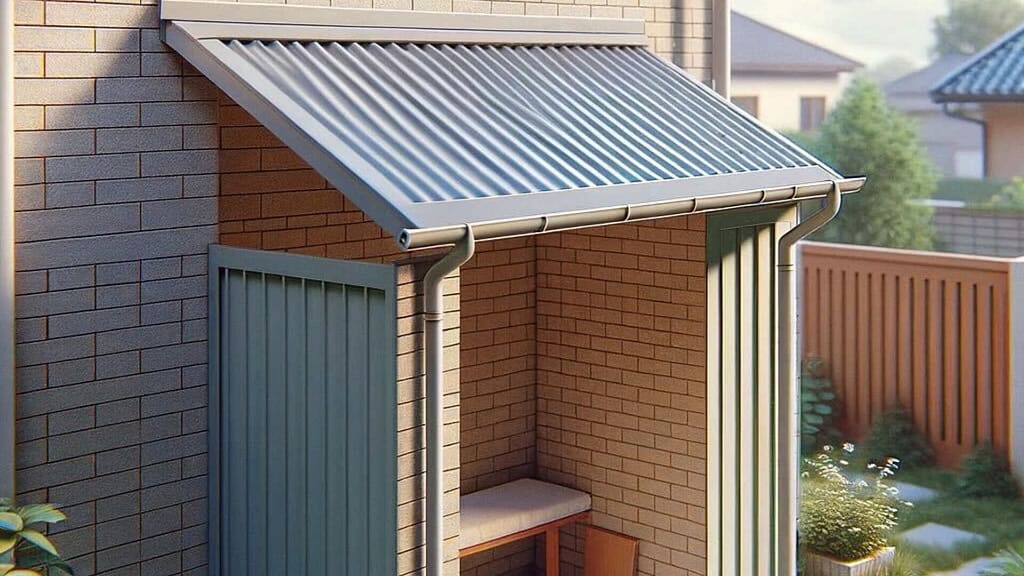
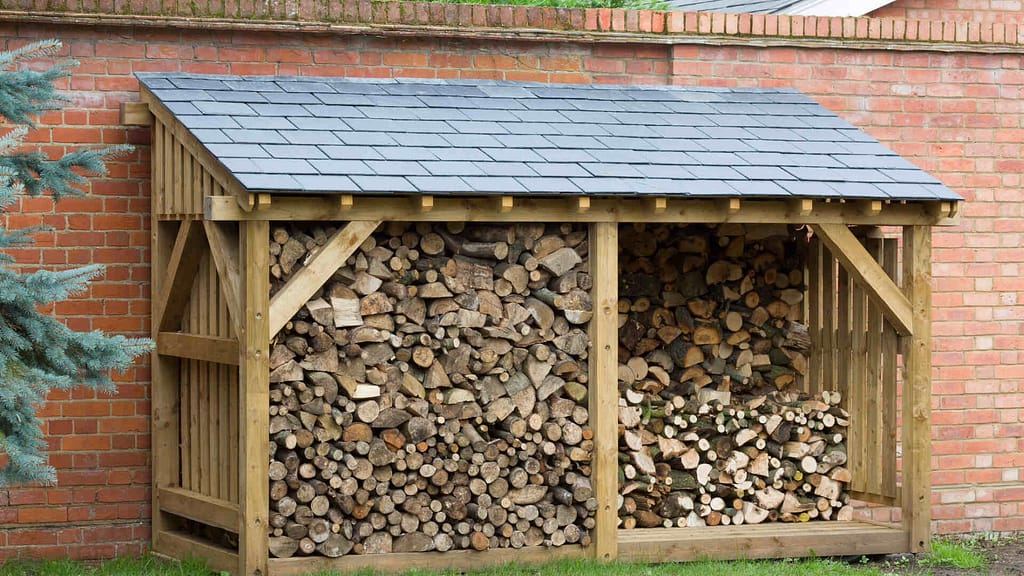
A lean-to roof is a simple and practical roofing design with a single slope that leans against an existing structure. It’s one of the oldest and easiest types of roofs to build, often used for extensions, sheds, and porches. The design features one slanted surface that goes from a higher wall to a lower wall, creating a straightforward and functional cover.
The main benefit of a lean-to roof is its simplicity. It needs fewer materials and less work compared to more complicated roof styles, making it a budget-friendly option. This type of roof is versatile and can be used for both small and large extensions. It can be made with various roofing materials, such as metal sheets, asphalt shingles, or tiles.
Safety Precautions
When building a lean-to roof, safety should always come first. Wear proper safety gear, including a helmet, safety glasses, gloves, and sturdy footwear. Use ladders and scaffolding safely, ensuring they are stable and in good condition. Handle tools with care by reading instructions, keeping tools sharp, and using them properly. Be aware of your surroundings, checking for hazards and keeping the area clean.
Work with a partner for extra safety and help with materials and tools. Take your time to avoid rushing, which can lead to mistakes and accidents. Secure the work area to protect others from falling debris or tools. By following these safety precautions, you can ensure a safer and more efficient building process for your lean-to roof project.
Gathering Building Materials
Before starting your lean-to roof project, it’s important to gather all the necessary materials. This section will guide you on selecting the right roofing style, choosing quality lumber, and getting additional materials like a drip edge and gutter system.
Tools and Materials Needed
Before you begin building your lean-to roof, gather all the necessary tools and materials. Having everything ready will make the process smoother and more efficient.
Tools Needed:
- Safety Gear
- Circular saw or jigsaw.
- Hammer or nail gun
- Measuring tape
- Chalk line or straight edge
- Level
- Roofing nails
- Garden hose
Materials Needed:
- 2×4 lumber.
- Extra lumber
- Drip edge
- Gutter system
- 7/16″ plywood sheathing
- Asphalt shingles or metal roofing
- Roofing felt.
Choosing Your Roofing Style
Before you start building, you need to decide on the type of roofing style. You can choose between custom truss roofing and stick framing. Truss roofing comes pre-assembled, making it easier to install. Follow the manufacturer’s instructions for truss installation. Stick framing, on the other hand, is built on-site, which means you will need to buy lumber and cut your own rafters. This method allows for more customization but requires more skill and time.
Selecting Lumber
Choosing the right lumber is crucial for your roof’s stability. Opt for straight 2×4 boards without cracks or knots to ensure the wood can handle the weight. Inspect each board carefully to avoid any weaknesses. Buying a bit more lumber than needed is a good idea so you can practice your cuts and have spare materials if you make a mistake.
Additional Materials
Apart from lumber, you will need a drip edge and a gutter system. These materials help with water drainage, preventing water damage to your roof and building. The drip edge is installed along the edges of the roof to direct water into the gutters, which carry it away from the building. Make sure to purchase nails, roofing felt, and shingles or metal sheets for the roofing surface.
Placing the Frame and Sheathing
Once you have all your materials, it’s time to start building the frame and adding the sheathing. This section will cover preparing the exterior walls, making the necessary cuts, installing support beams, and adding the sheathing to create a solid base for your roofing materials.
Preparing the Exterior Walls
Before you start framing the roof, make sure your exterior walls are properly set up. If you’re adding the lean-to roof to an existing building, the highest point of the roof should be against the exterior wall. Ensure the walls are straight and level, as this will affect the alignment of your roof.
Making the Cuts
To make sure your roof fits right, you need to make three types of cuts on each support beam: a cut at the top (plumb cut), a cut where the beam meets the wall (birdsmouth cut), and a cut at the bottom (tail cut). The top cut lets the rafter fit snugly against the ridge board, the middle cut helps the rafter rest on the wall, and the bottom cut gives a clean edge at the eaves. Use a circular saw or jigsaw for these cuts, and measure carefully for accuracy.
Installing the Support Beams
Once your beams are cut, place them at even intervals according to your roofing material’s requirements. Typically, rafters are spaced 16 to 24 inches apart. Nail them securely in place, starting from one end and working your way to the other. If you’re working on a large project or feel unsure, consider getting advice from a professional roofer to ensure stability and safety.
Adding the Sheathing
With the beams in place, it’s time to add the sheathing. Use 7/16″ plywood and nail it into the support beams. The nails should be spaced no more than 6 inches apart along the edges and should be placed at each support beam in the middle. Make sure the sheathing is level by using chalk or a straight edge to mark your lines. This will provide a stable base for your roofing materials and help prevent leaks.
Attaching Your Roofing Shingles
With the frame and sheathing in place, the next step is to attach your roofing shingles. This section will guide you in choosing the right roofing materials and installing them properly to ensure a leak-free, durable roof.
Choosing Roofing Materials
The next step is to choose your roofing material. You can go for asphalt shingles or metal roofing. Asphalt shingles are popular for their cost-effectiveness and ease of installation, while metal roofing is known for its durability and longer lifespan. Make sure to follow the manufacturer’s instructions for the best results and to ensure a proper fit.
Installing Shingles
Start attaching the shingles from the bottom edge of the roof, working your way up. Lay the first row of shingles along the edge, then overlap the next row slightly to ensure water runoff. Use roofing nails to secure each shingle in place. After installation, check for any leaks by spraying water on the roof and having a helper check inside for signs of water. This will help you identify and fix any issues before they cause damage.
Building a lean-to roof can be a rewarding DIY project, but it comes with its challenges. This section will offer tips on extending the life of your roof and advise on when to seek professional help to avoid common mistakes.
Longevity of a Lean-To Roof
A well-built lean-to roof can last a long time, typically between 20 and 70 years, depending on the materials used and the quality of construction. For example, a roof made with high-quality metal can last up to 70 years, while one with asphalt shingles might last around 20-30 years. Regular maintenance is key to extending the lifespan of your roof. This includes cleaning the gutters, inspecting for damage after storms, and replacing any worn or damaged shingles. By keeping up with these simple maintenance tasks, you can ensure your lean-to roof remains sturdy and effective for many years.
When to Seek Professional Help
Building a roof can be complex and risky. If you are not confident in your skills, it’s wise to hire a professional. For years, American Home Contractors has stood as a symbol of quality, serving communities in Maryland and Virginia with dedication. We have consistently been a top choice for those seeking reliable roofing companies in these areas. Our skilled roofers bring extensive experience, ensuring each project meets high standards and is completed efficiently. We prioritize safety and customer satisfaction, offering tailored solutions that exceed expectations. When you choose a trusted company like American Home Contractors, you are choosing excellence and durability for your home.
Hiring professional roofers ensures your lean-to roof is built correctly, meets all building codes, and stands the test of time. If you are in Maryland or Virginia, trust American Home Contractors for peace of mind with professional craftsmanship and exceptional service. Contact us today and get your roofing project started.
Conclusion
Building a lean-to roof can be a rewarding and practical project for adding extra space to your home or creating a sturdy shed. This guide has taken you through the entire process, from gathering materials and selecting the appropriate roofing style to placing the frame, adding sheathing, and attaching roofing shingles. By following these steps, you can ensure your lean-to roof is both functional and durable.
While a lean-to roof is a relatively simple construction, it is important to consider your skill level and the complexity of the project. For those who feel unsure about any part of the process, seeking professional help can provide peace of mind and ensure the roof is built to last. American Home Contractors, with their extensive experience and commitment to quality, offer reliable services in Maryland and Virginia. Choosing professional assistance can save time, prevent costly mistakes, and result in a roof that meets high standards of safety and durability. With the right approach, your lean-to roof will be a valuable addition to your property for many years to come.
Fact checked by Adrian Catolico – 7/12/2024